(All IPNut proxy services require an overseas network environment. This tutorial assumes operation under such conditions.)
To use IPNut’s IP services, users must first purchase proxy ports.
Payment Methods: Alipay, WeChat Pay, Credit Card (contact staff for alternative payment options)
Account Top-up: Required if balance is insufficient (via Alipay/WeChat/Credit Card)
WeChat Customer Service:

Official Support Channels:
- Telegram: @Jennyipnut
- Contact details are available on our website – reach out for any assistance.
Step 1: Proxy Purchase Process #
Account Setup & Proxy Purchase
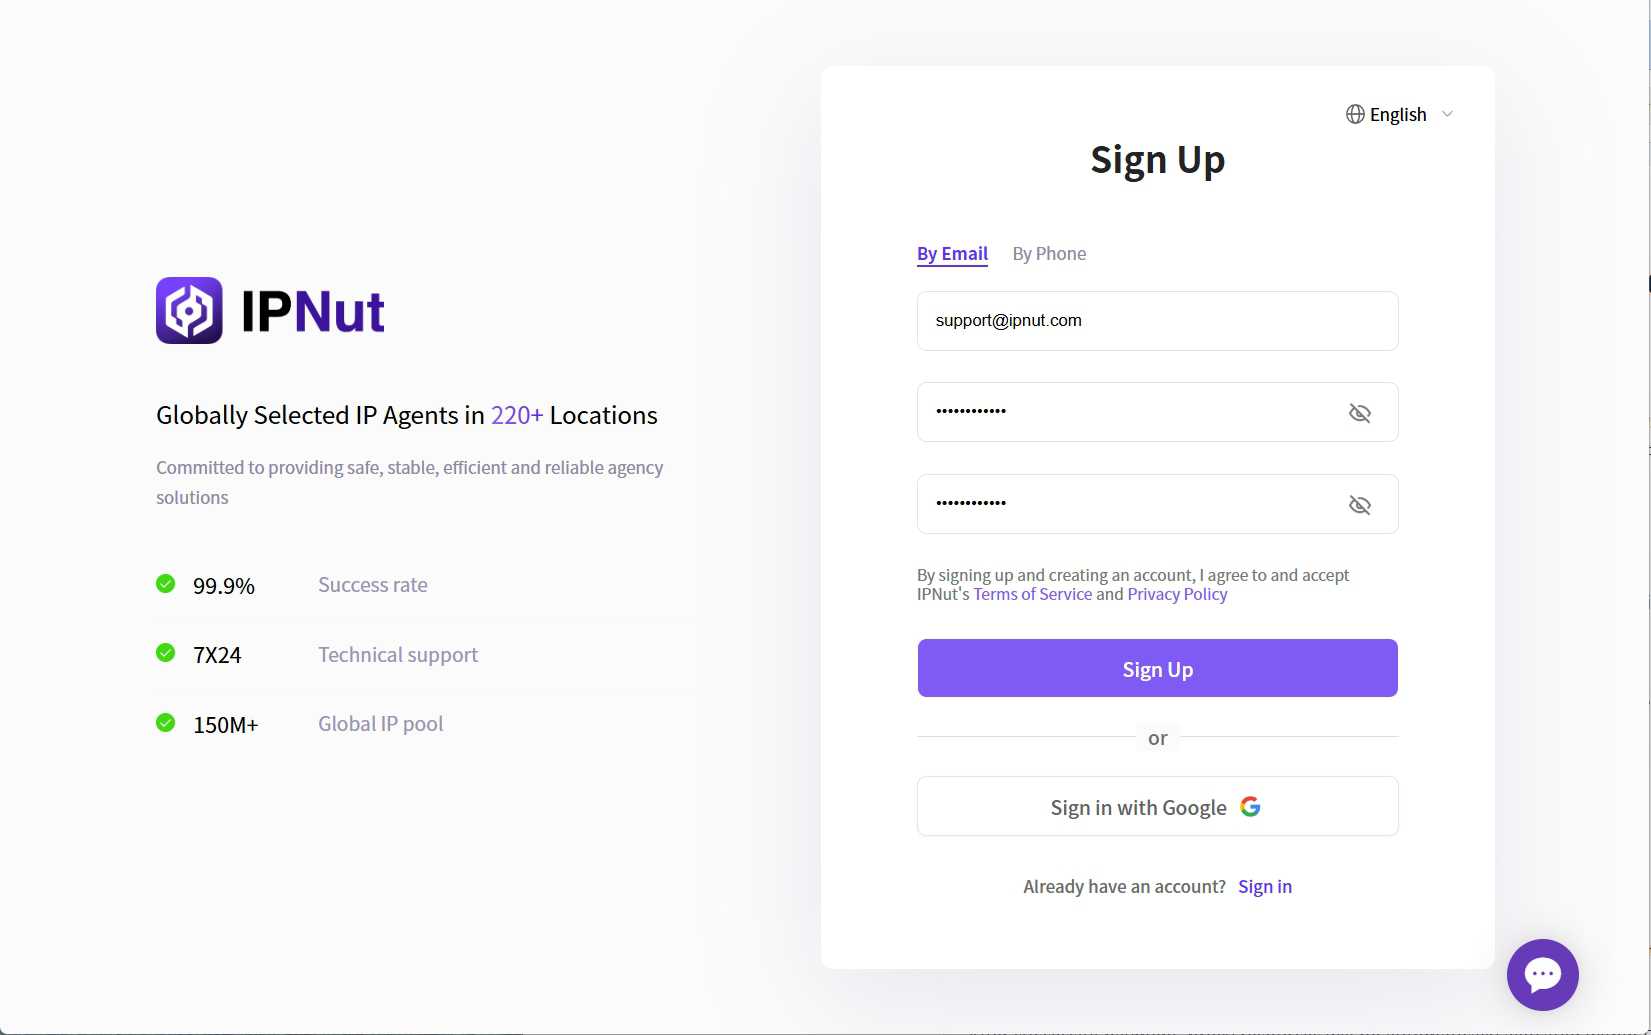
1. Register Account
Create your IPNut account via email, phone, or Google account.
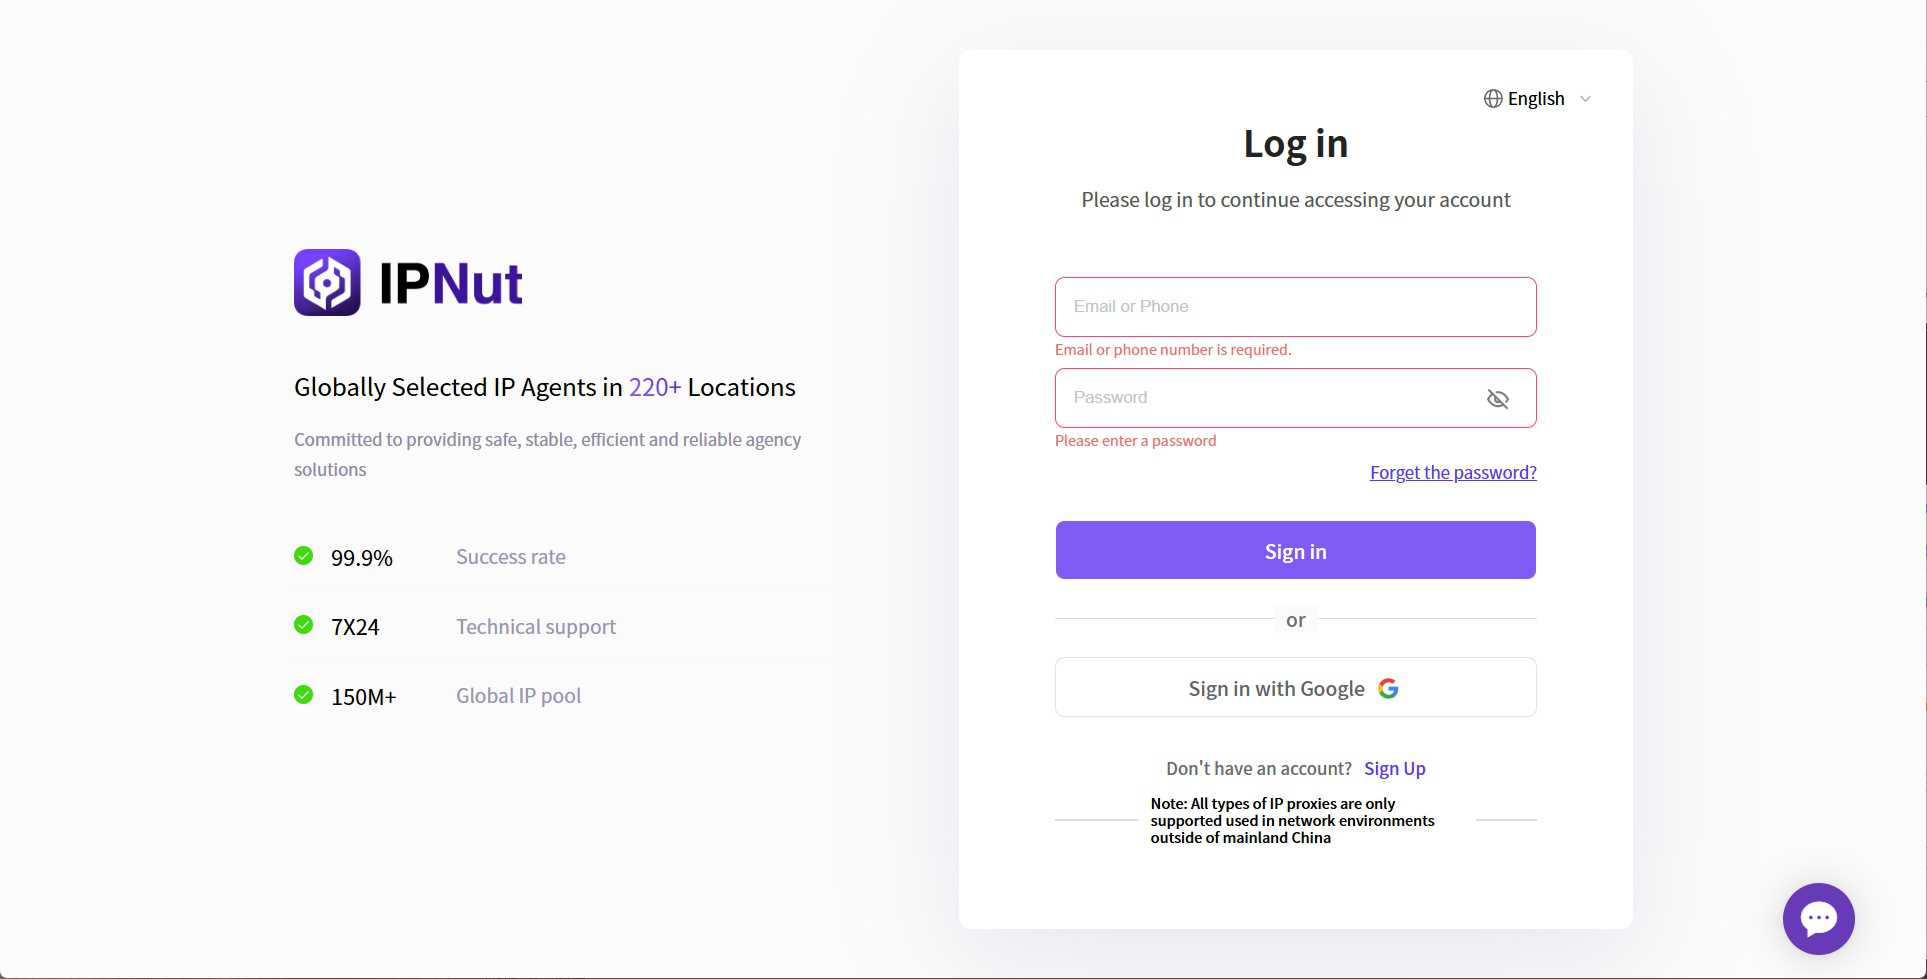
2. Platform Login
Visit ipnut.com and log in using email, phone, Google.
3. Access Control Panel
New users can request free trials by contacting customer service.
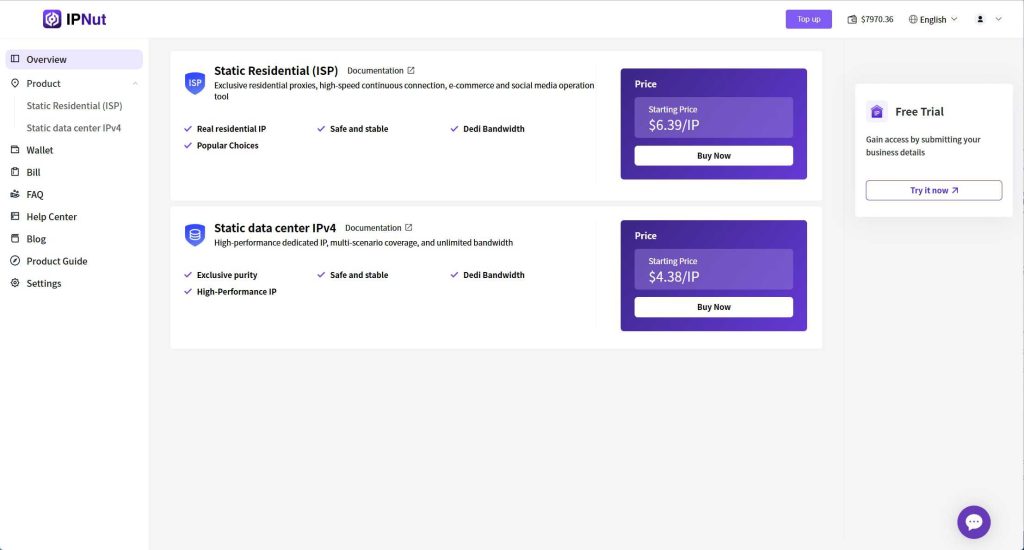
4. Purchase Proxy Ports
Select proxy parameters according to your needs:
- Proxy type
- Country/Region
- IP validity period
- Quantity
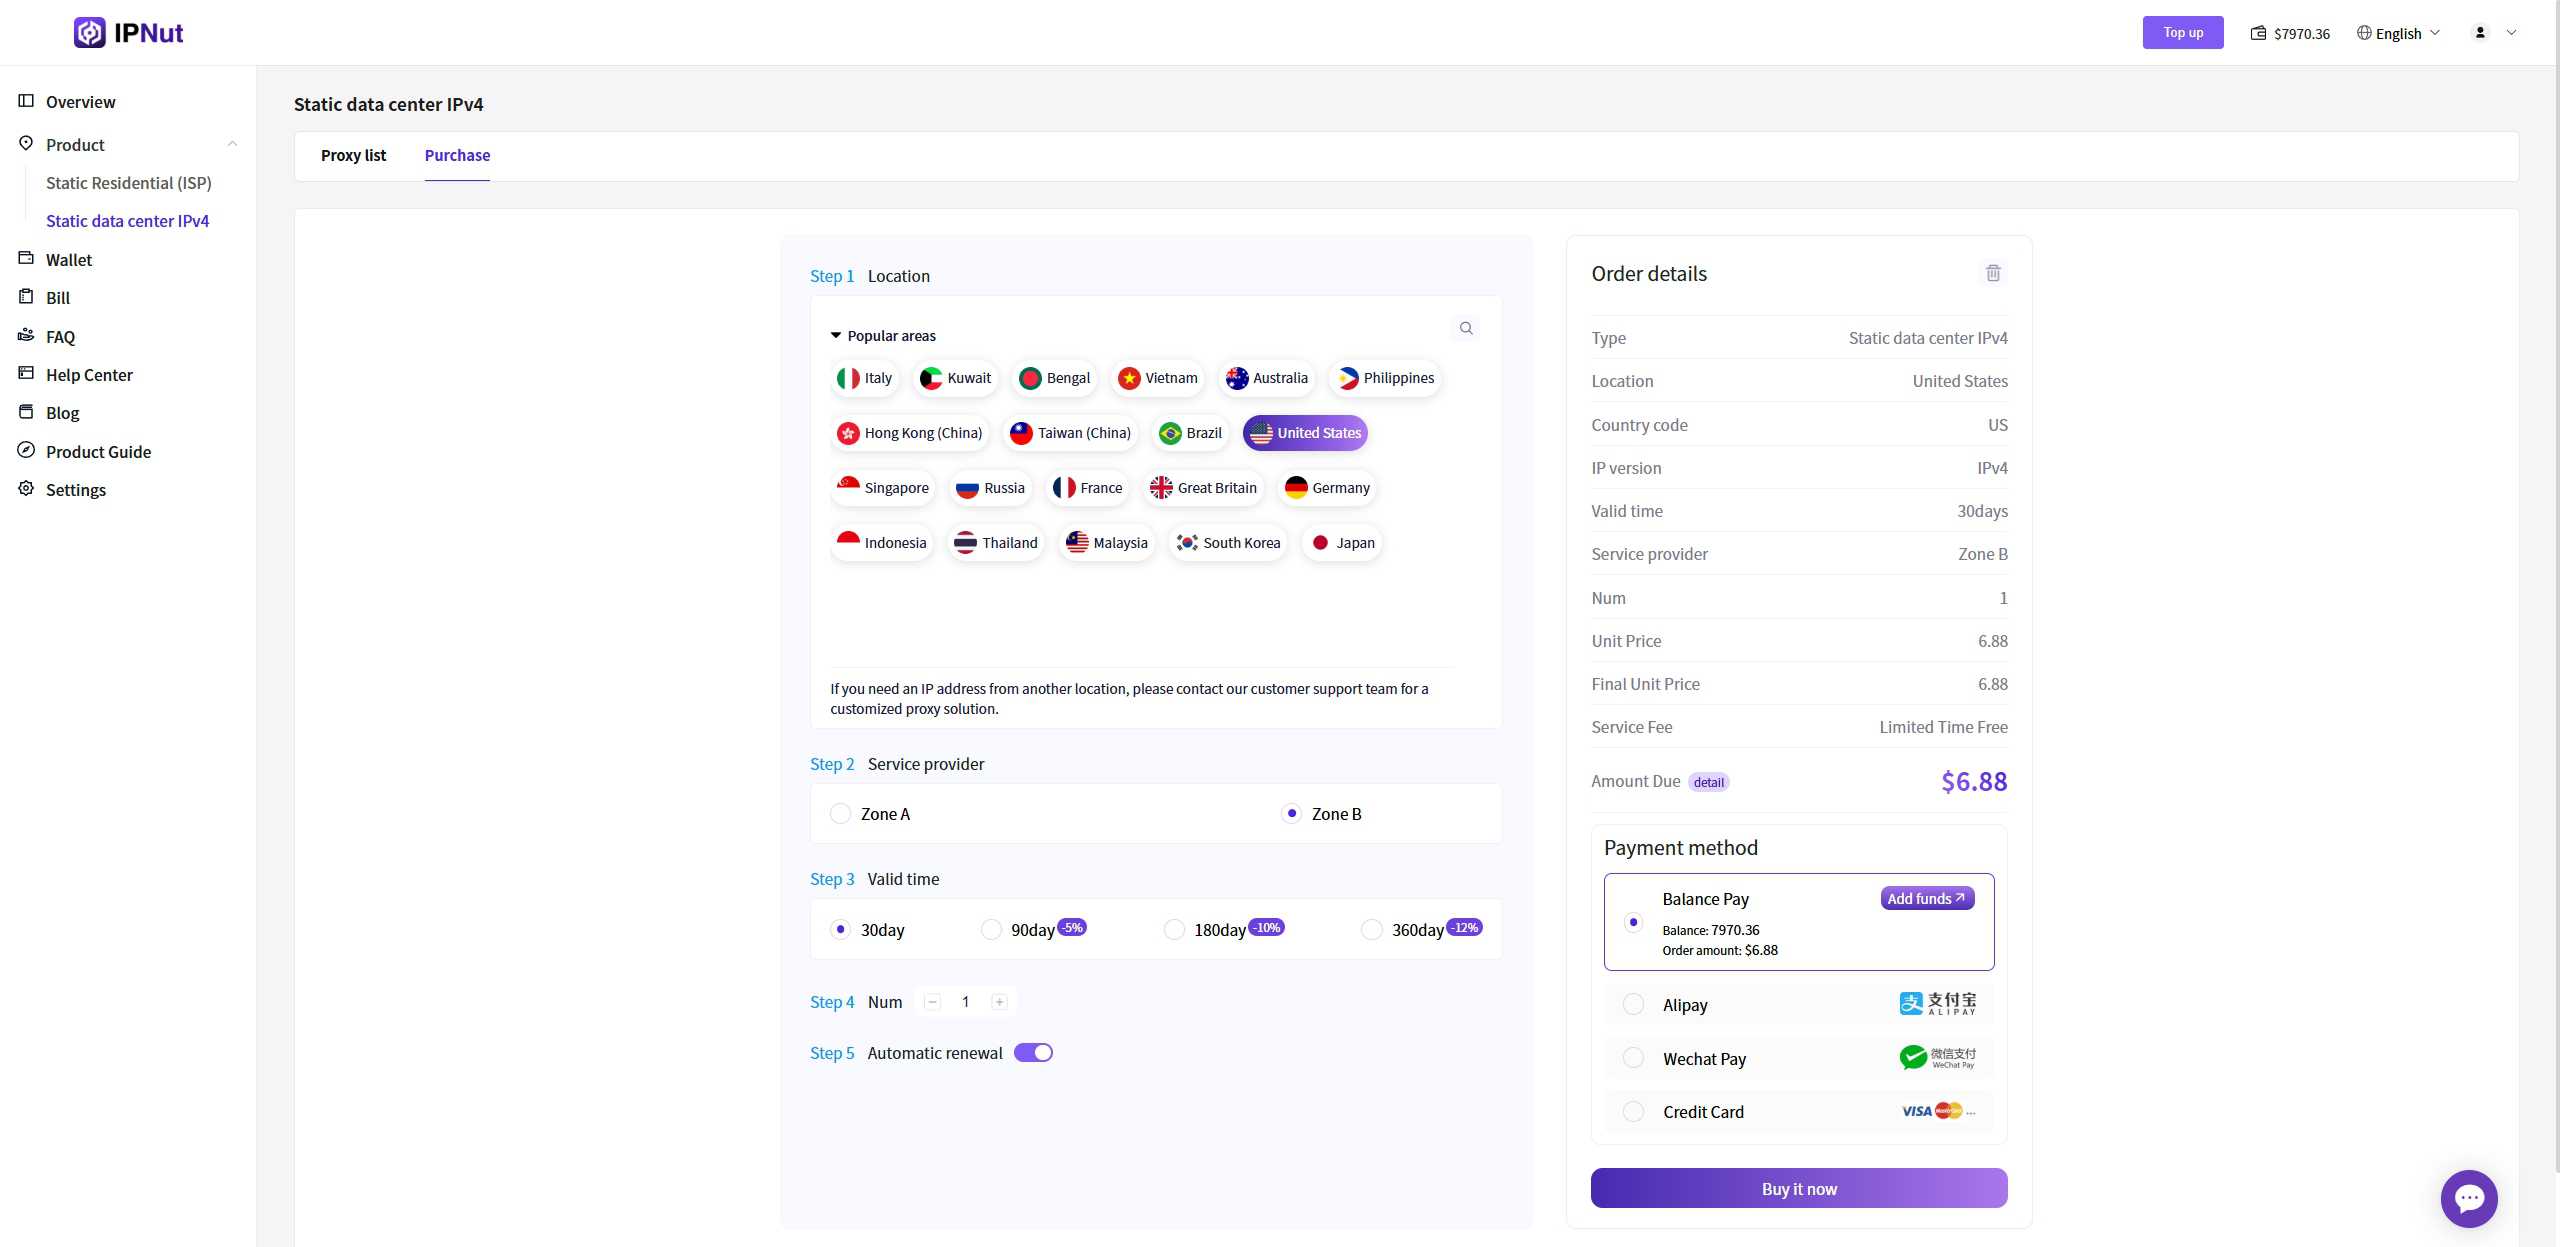
5. Order Confirmation
Review order details in the right panel and click “Buy Now”
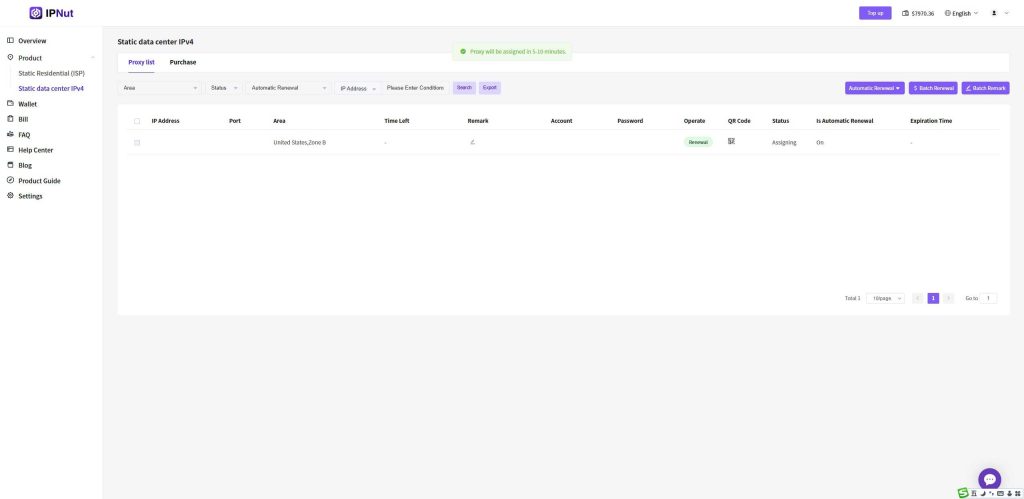
6. Order Processing
After successful payment:
- Order status: Processing (5-10 minute typical processing time)
- Orders appear in your proxy order list
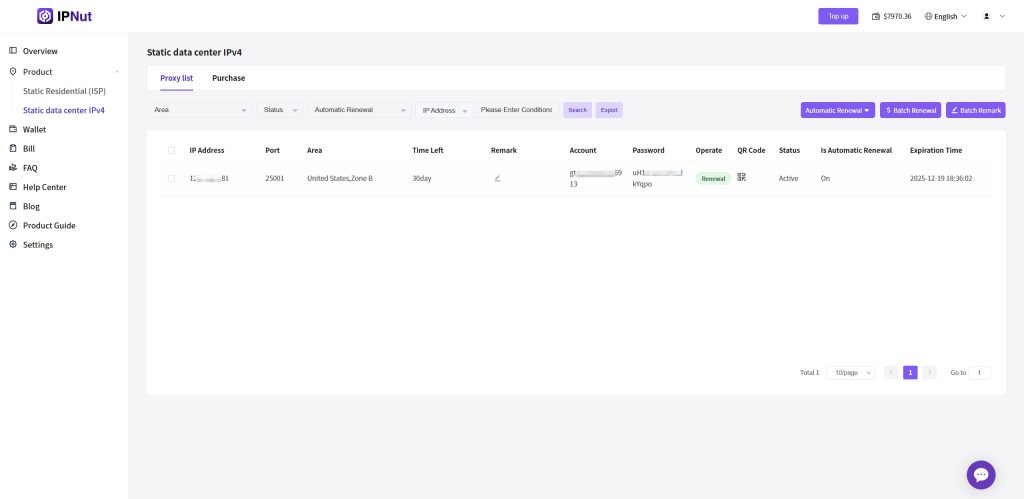
7. Access Proxy Details
Proxy Address Format
Structure: Protocol + Username + Password + IP + Port + Region remark
Examples:
socks5://account:password@127.0.0.1:12001#kr-seoulhttp://account:password@127.0.0.1:13001#kr-seoul
Usage: Extract protocol, IP, and port components as required by your proxy software.
This completes the IPNut proxy purchase process.
Step 2: BitBrowser Proxy Configuration Tutorial #
Configure IPNut proxy IPs in BitBrowser using the following step-by-step process:
1. Launch BitBrowser #
Open your installed BitBrowser application.
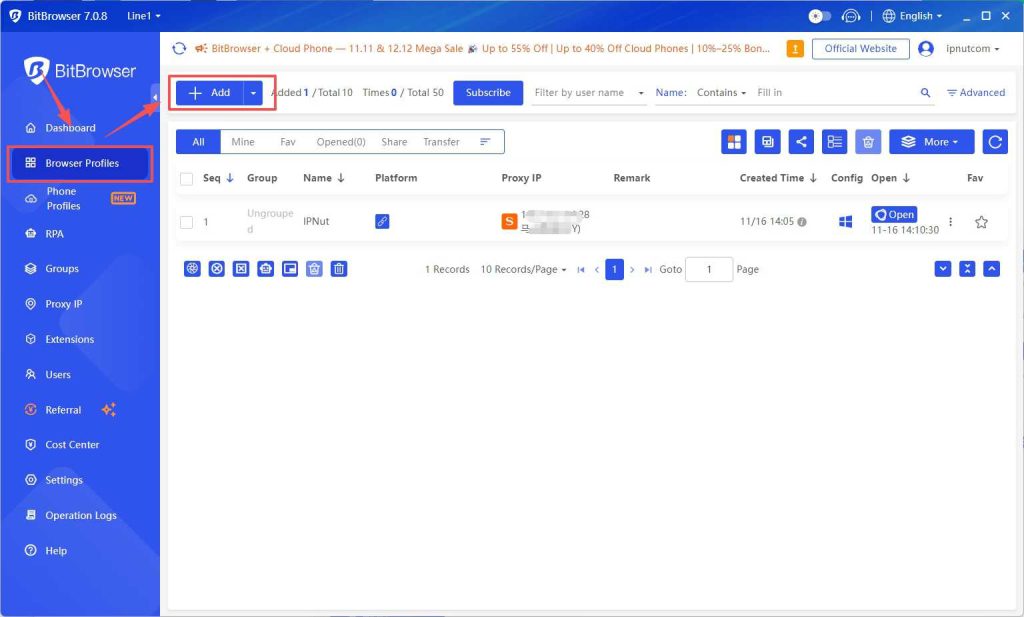
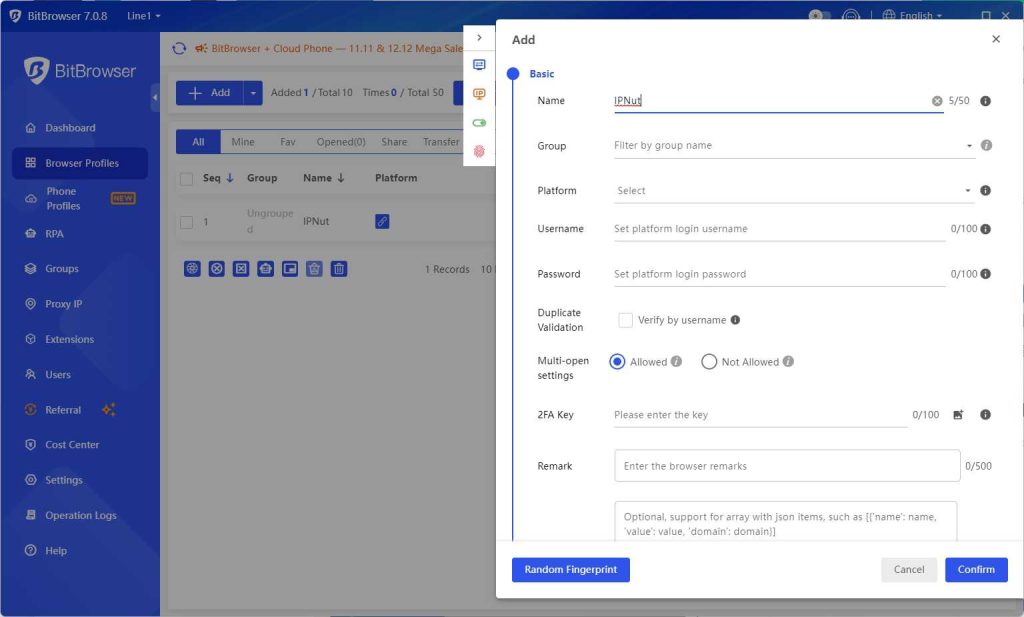
2. Create New Browser Profile #
- In the new browser interface, fill in your profile information as required
- Set the proxy method to “Custom” (default option)
3. Configure Proxy Type #
- Select the appropriate proxy type
- Important: IPNut proxies support both HTTP and SOCKS5 protocols
- Recommended: Choose SOCKS5 (assuming you purchased dual-protocol proxy IPs from IPNut)

4. Retrieve Proxy Credentials from IPNut #
- Navigate to: IPNut Platform → Static Residential ISP Proxies → Proxy List
- Copy the following information:
- Server address (IP)
- Port number
- Authentication username
- Password
Alternative method: Scan the QR code to automatically obtain dual-protocol IP proxy information
Example proxy address format:socks5h://account:password@127.0.0.1:15002

5. Input Proxy Details in BitBrowser #
Paste the copied information into the corresponding fields in BitBrowser:
Password: Proxy password
IP/Hostname: Server address
Port: Port number
Username: Proxy account
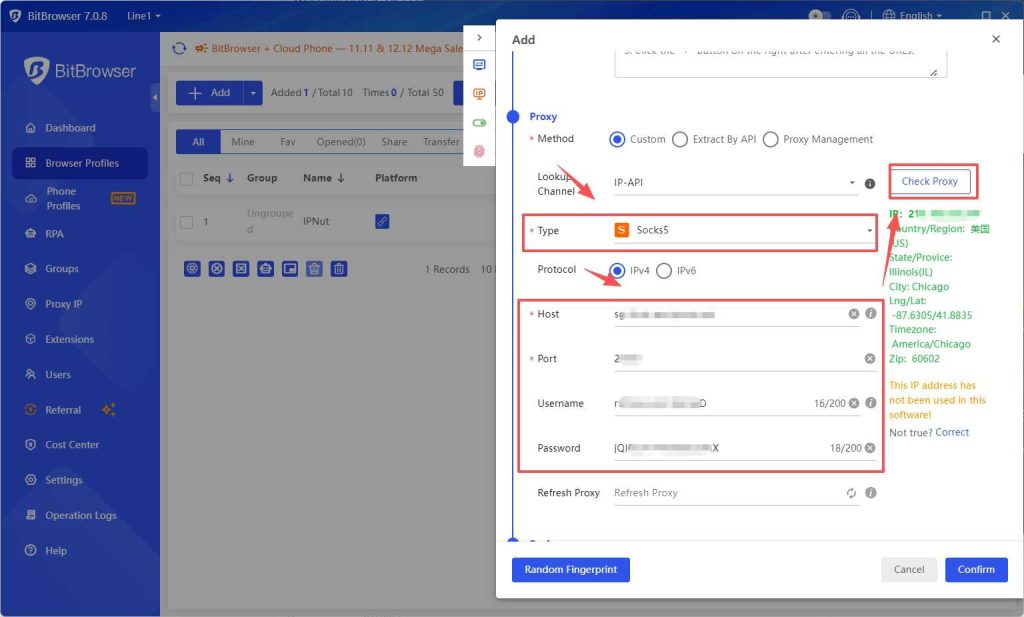
6. Save Configuration #
- Click 【Confirm】 to save the account configuration
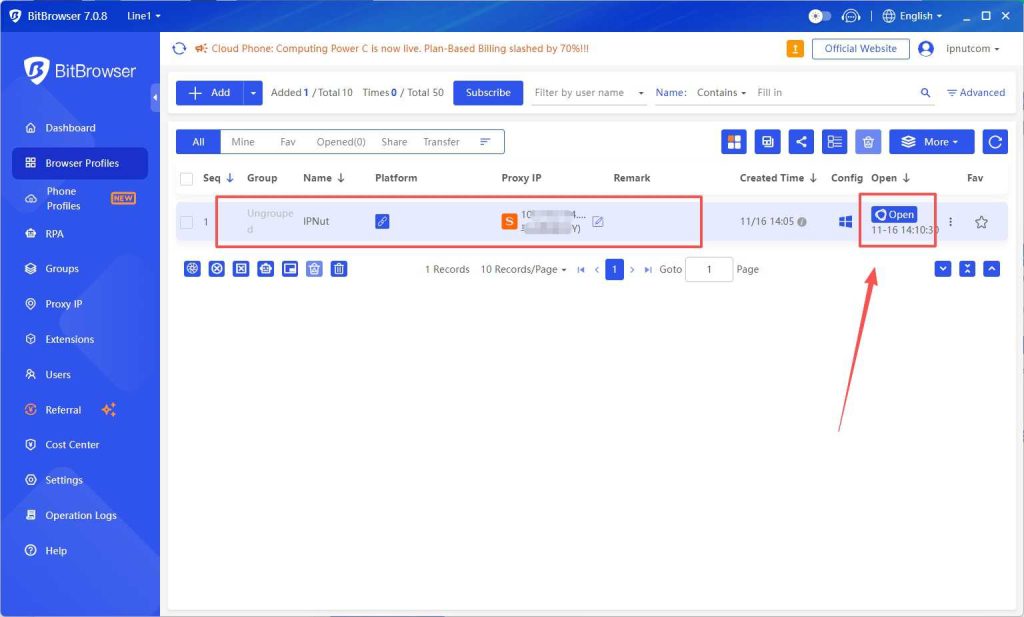
- The interface will return to the account management list

7. Launch Browser Instance #
- Locate the newly created profile in your account list
- Click “Open” to launch the browser with proxy settings
8. Verify IP Configuration #
- The browser will open with a default homepage displaying current IP information
- Confirm that the displayed IP matches your IPNut proxy assignment
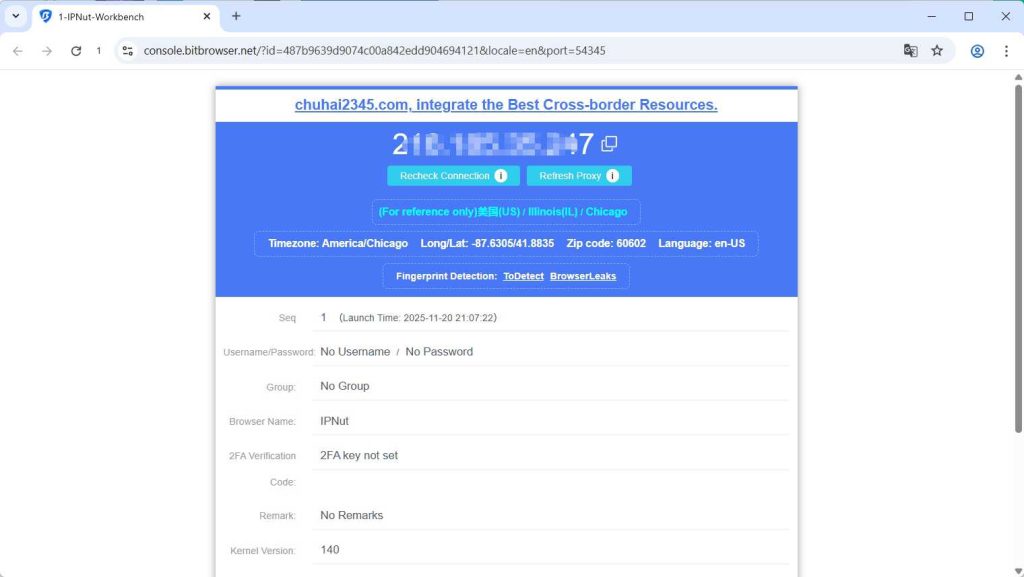
Configuration Complete
Your AdsPower browser is now successfully configured with IPNut’s proxy network environment.
Need Assistance?
For further guidance or location-specific support:
- Email: Jenny@ipnut.com
- Live Chat: 24/7 support via our website
All configuration steps assume proper overseas network environment as required by IPNut services.


