(All proxy products from IPNut platform require an overseas network environment for usage. This tutorial is conducted under an overseas network environment.)
I. FoxyProxy Introduction #
FoxyProxy is a proxy extension for Firefox and Chrome browsers, also supporting mainstream browsers like Microsoft Edge. It helps browsers quickly manage and switch between multiple proxy settings.
II. How to Set Up Proxy IP? #
1. Register and Log in to IPNut #
(1) Register your account on the IPNut platform via email/phone/Google account.
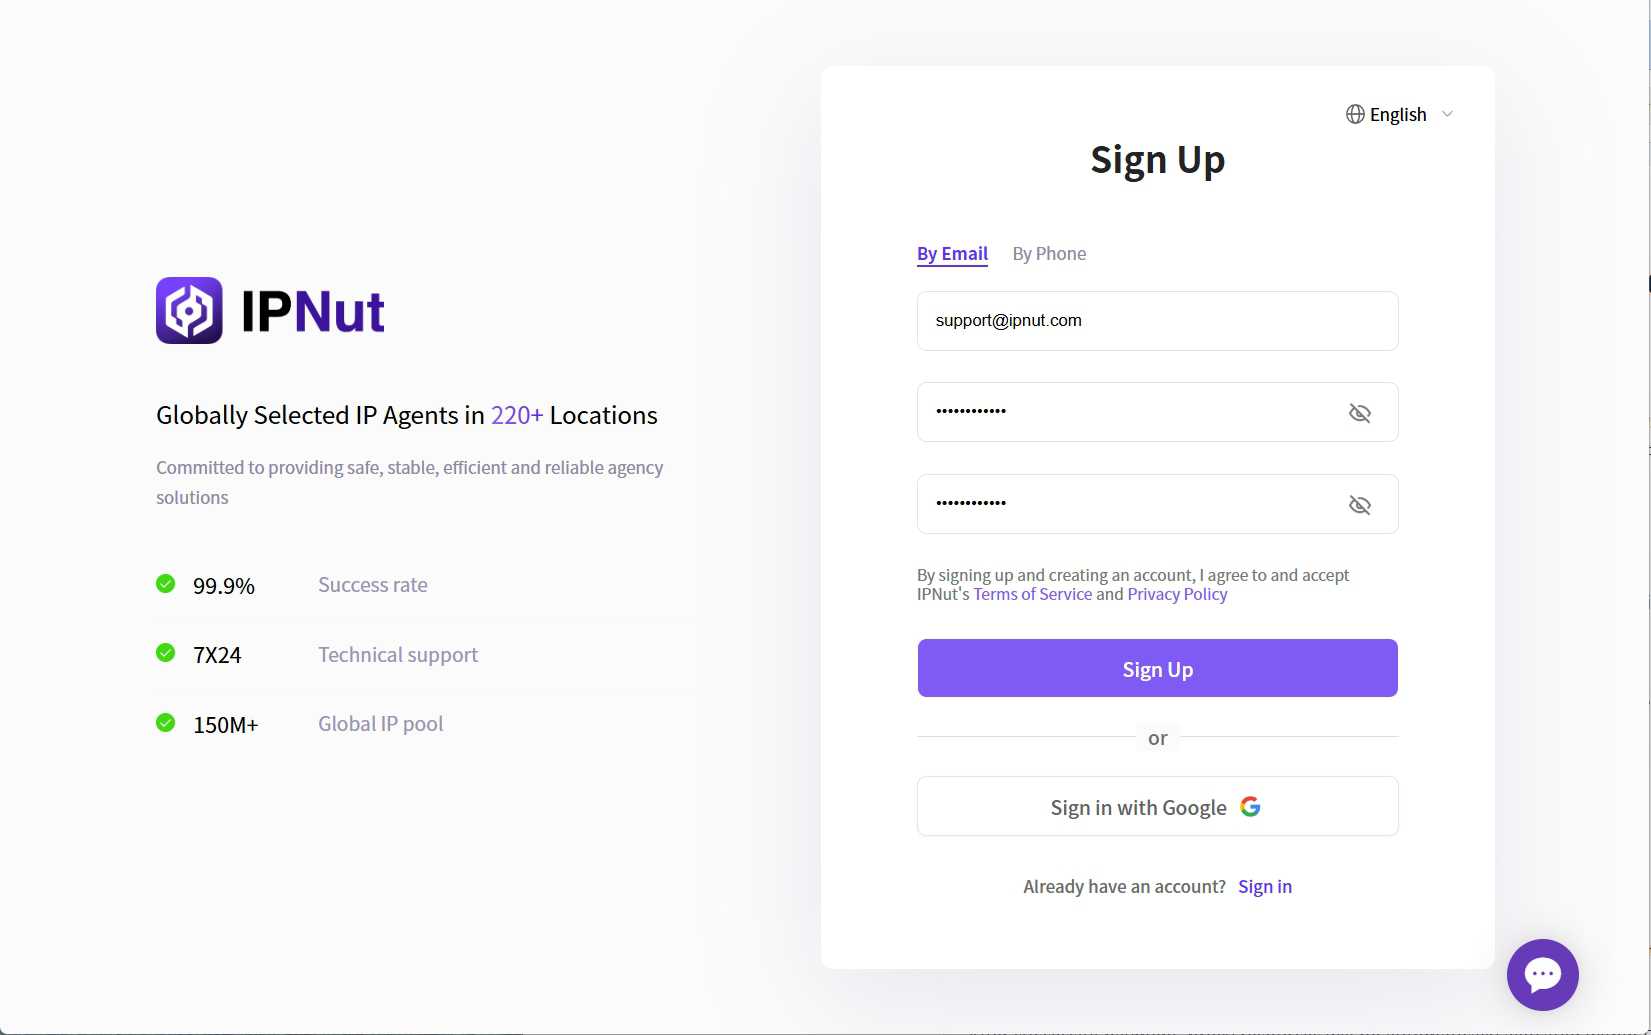
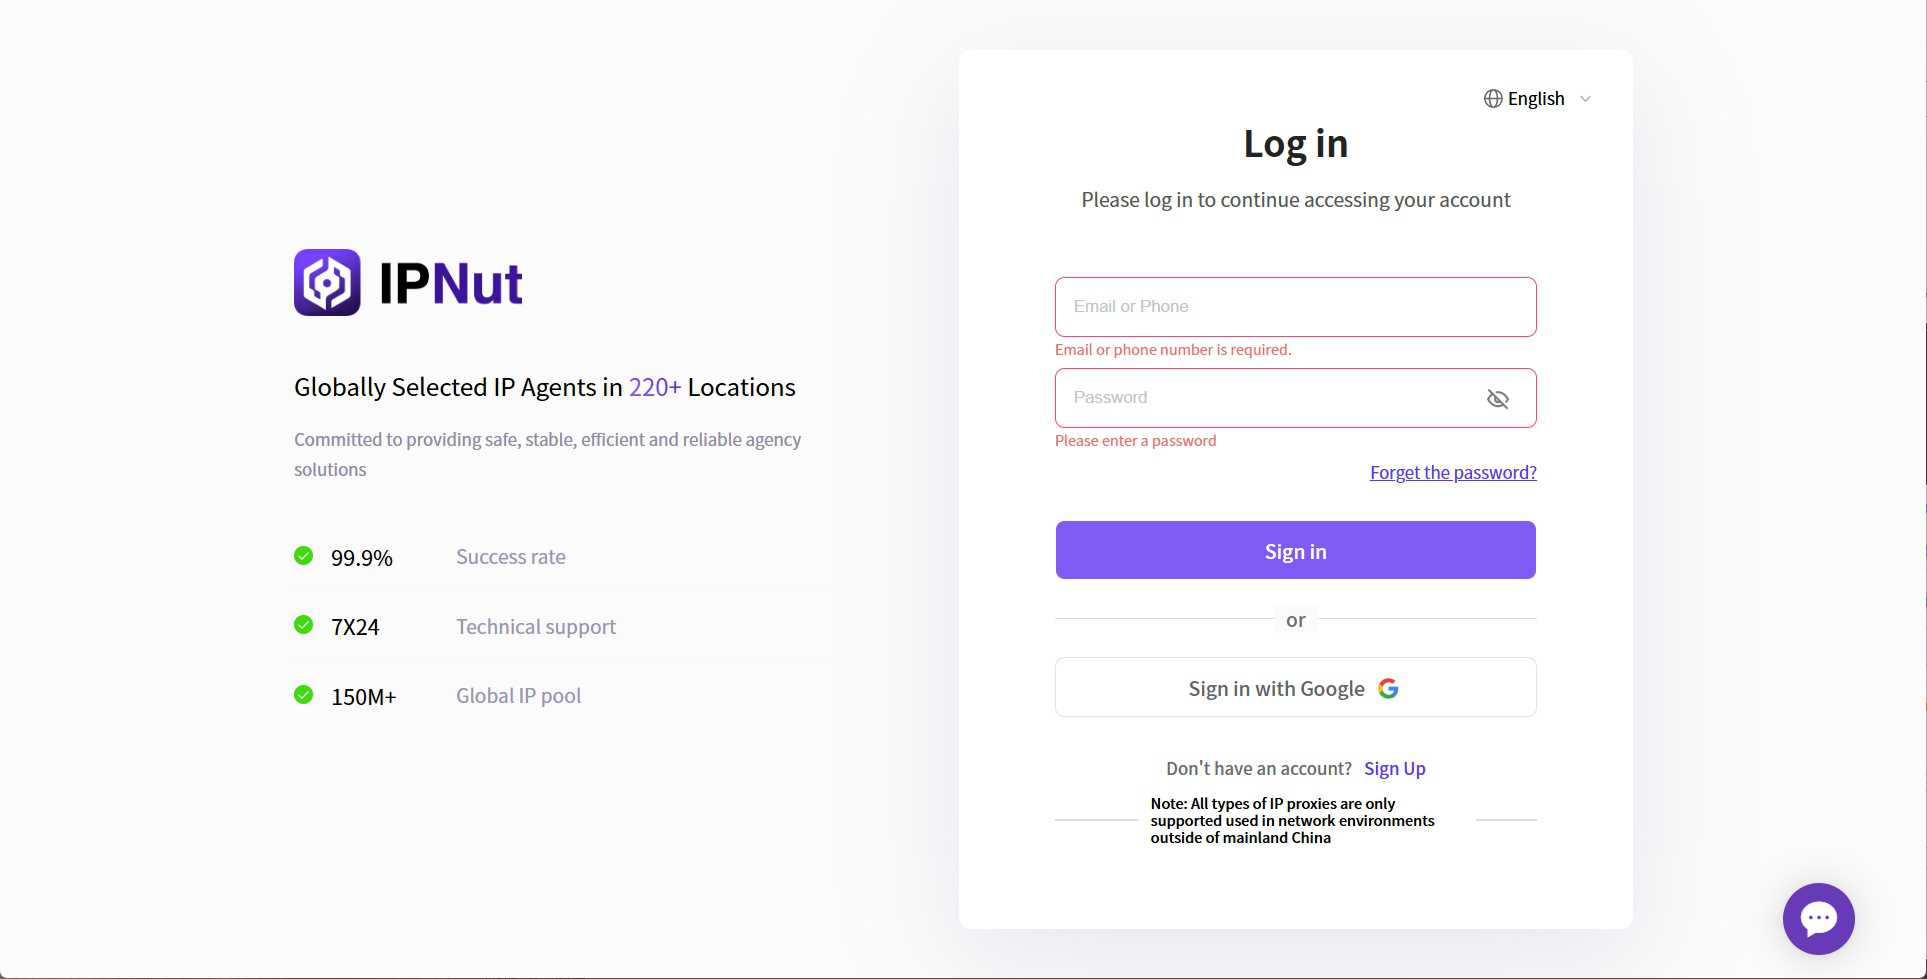
(2) Open IPNut in your browser and log in to your account using email/phone number/Google.
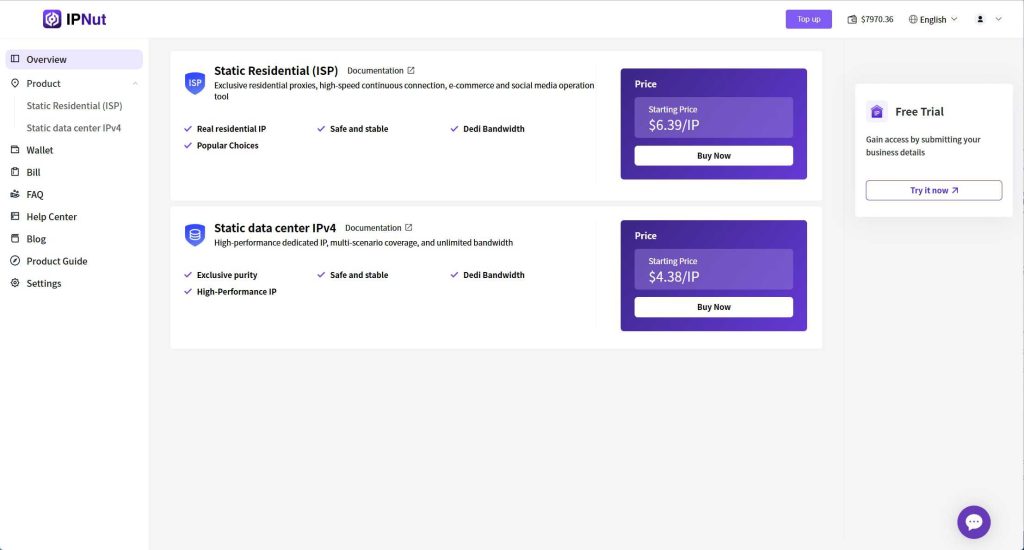
(3) After logging into the system, you will access the control panel. New registered users are eligible for a free trial—please contact customer service to claim your trial package.
(4) To use IP services, new accounts must first purchase a proxy port. Currently, the platform supports online payments via Alipay/WeChat/Credit Card. For other payment methods, please contact our staff.
2. Purchase Proxy #
(1) When purchasing a proxy port, select the proxy type, country, region, IP validity period, and quantity according to your needs. Here, we use Static Datacenter IPv4 as an example: Click Products → Static Datacenter Proxies – IPv4 → Purchase Static Datacenter Proxies – IPv4.
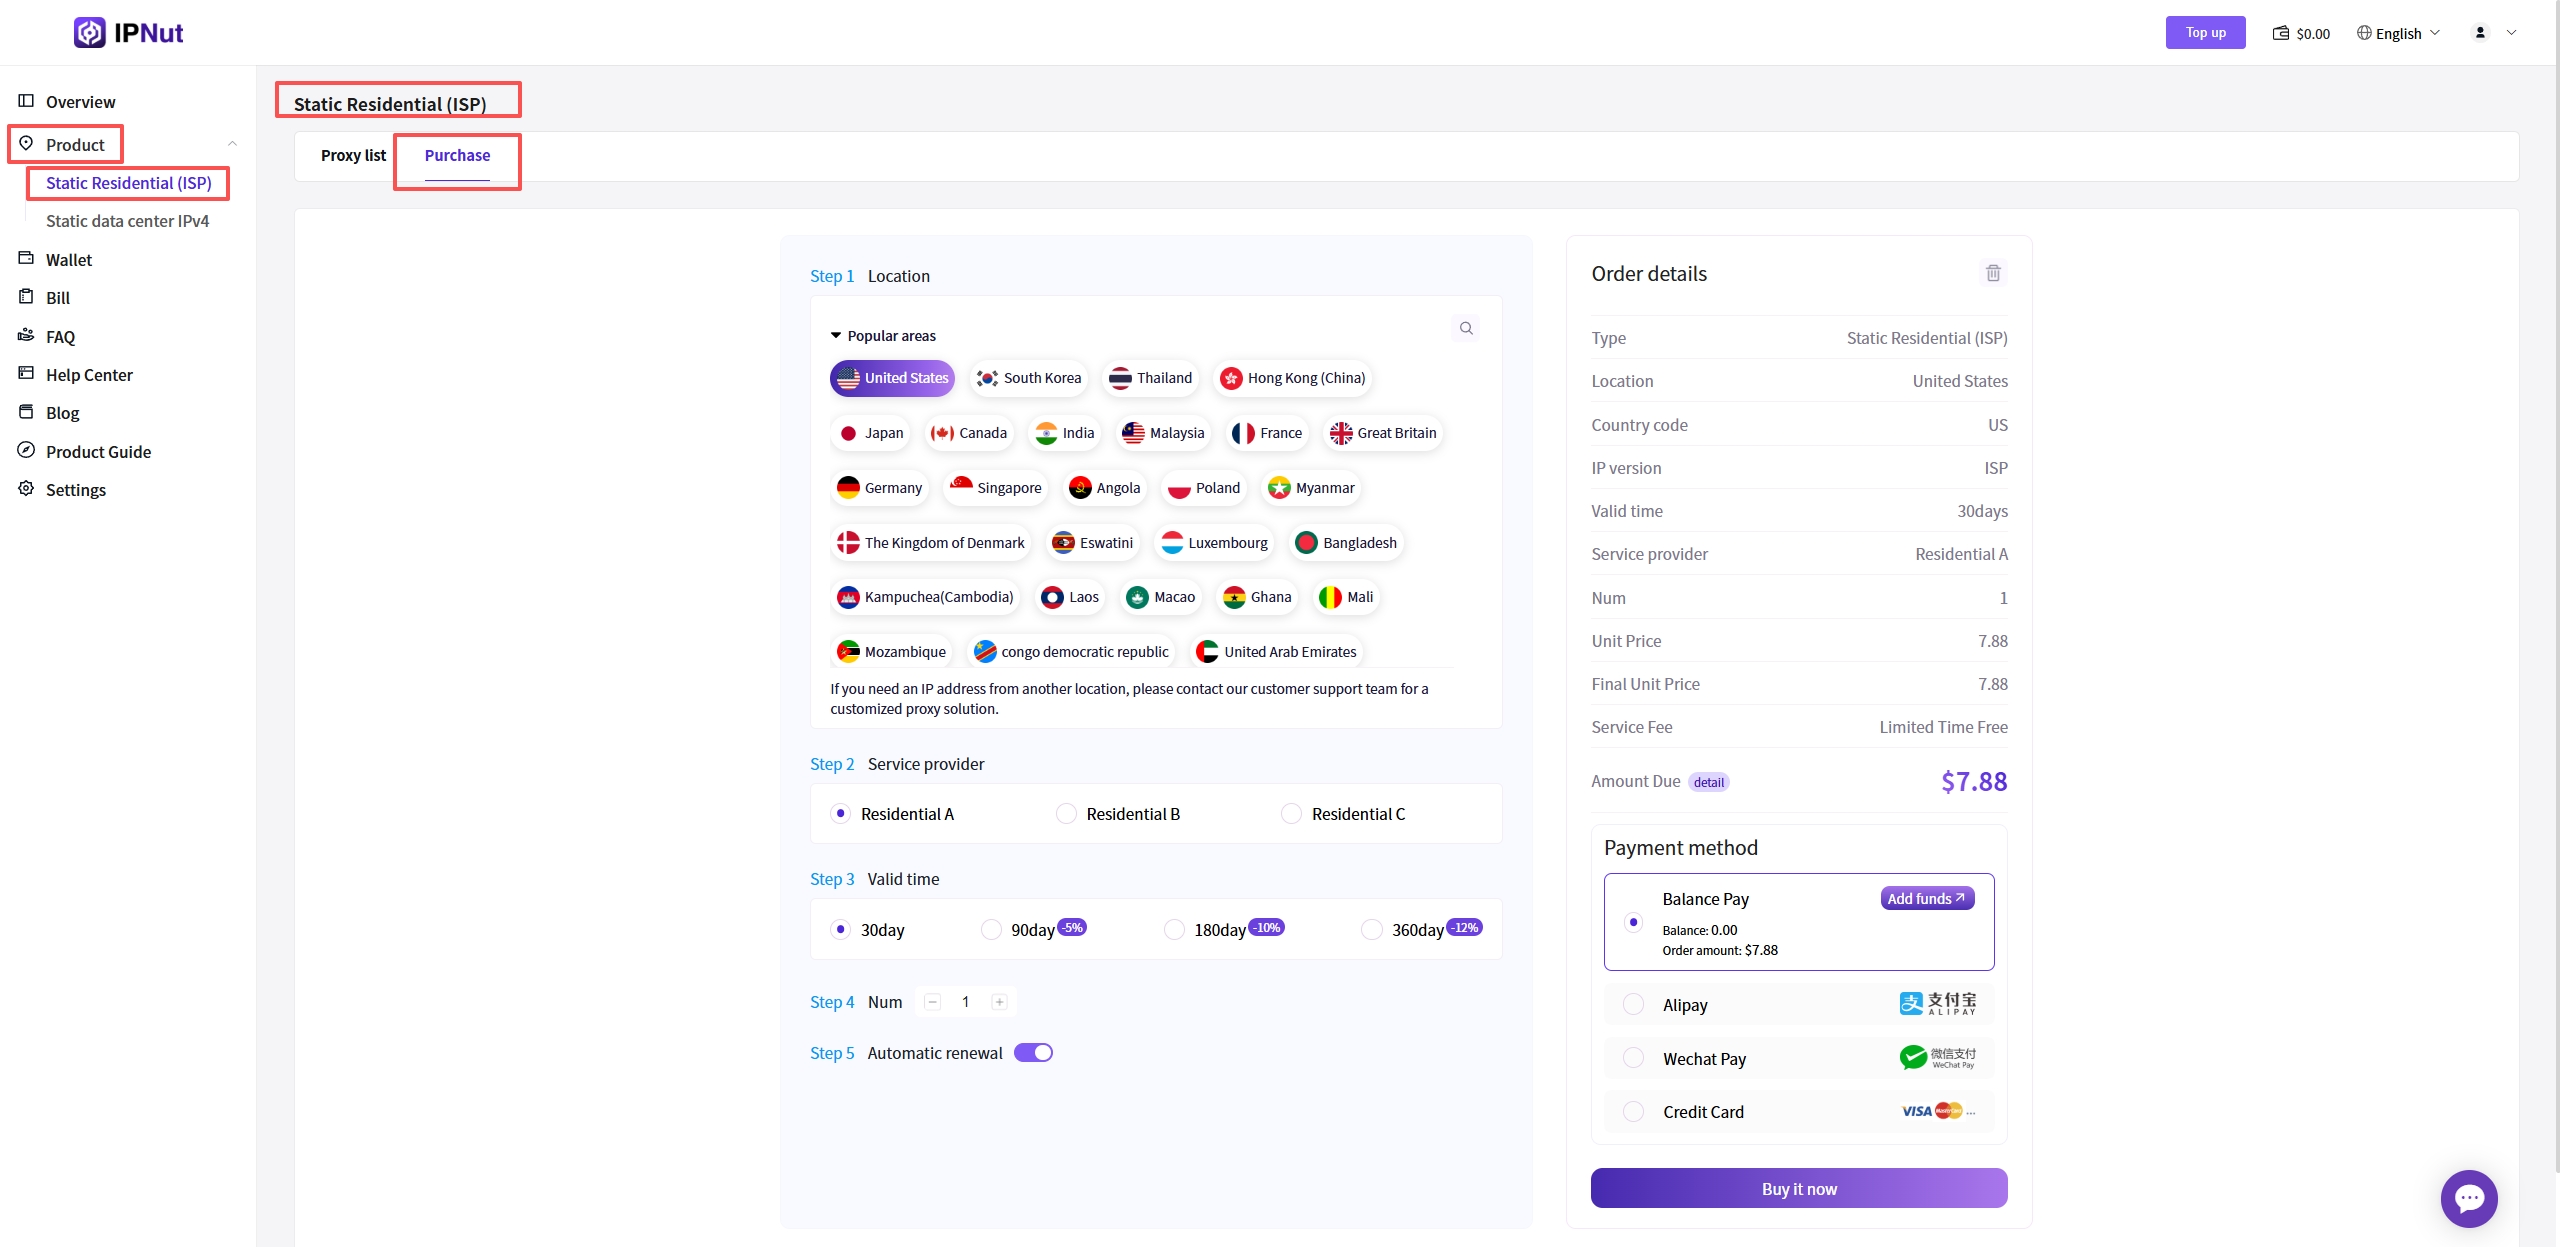
(2) After selecting your proxy port requirements, confirm the order details on the right and click “Buy Now”.
(3) After submitting the order and successful payment, the system will redirect to the proxy order list. Your submitted order will be displayed with a status of “Processing”. Orders are typically processed within 5-10 minutes.
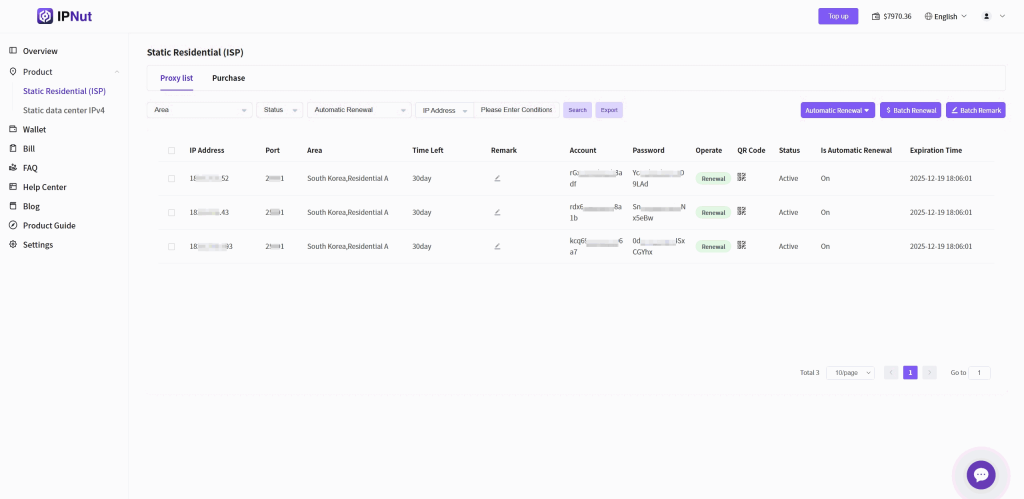
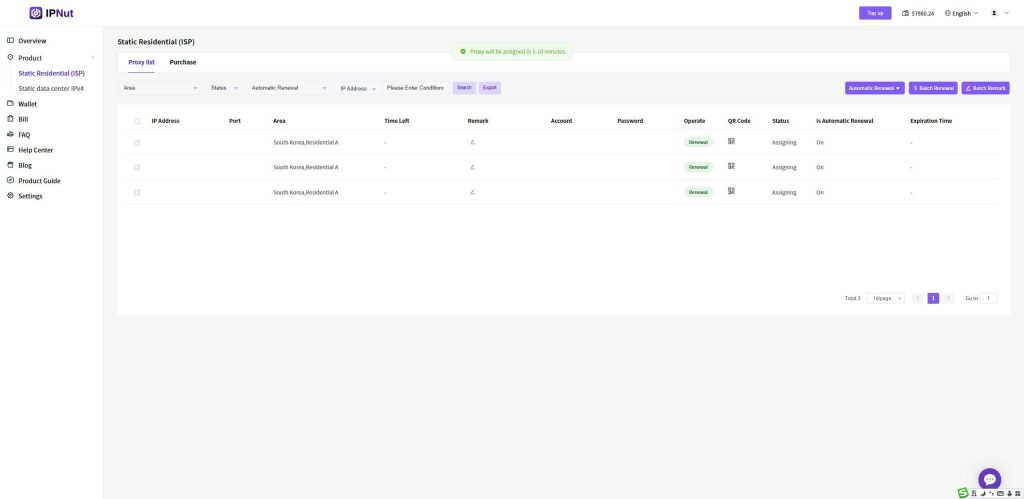
3. Copy Proxy Information #
Once the order is successfully processed, you can view the proxy port details of your purchased order.
As shown in the example above, the displayed record represents the IP port you purchased.
The port address is structured as:
Protocol (socks5/https) + Username + Password + IP (e.g., 127.0.0.1) + Port Number (e.g., 12001) + #Region-Remark
Examples:
socks5://account:password@127.0.0.1:12001#kr-seoulhttp://account:password@127.0.0.1:13001#kr-seoul
When using the port address, extract the protocol, IP, and port number according to your proxy software requirements.
This concludes the basic process of purchasing and using IP proxy services on the IPNut platform.
III. Browser Configuration with FoxyProxy #
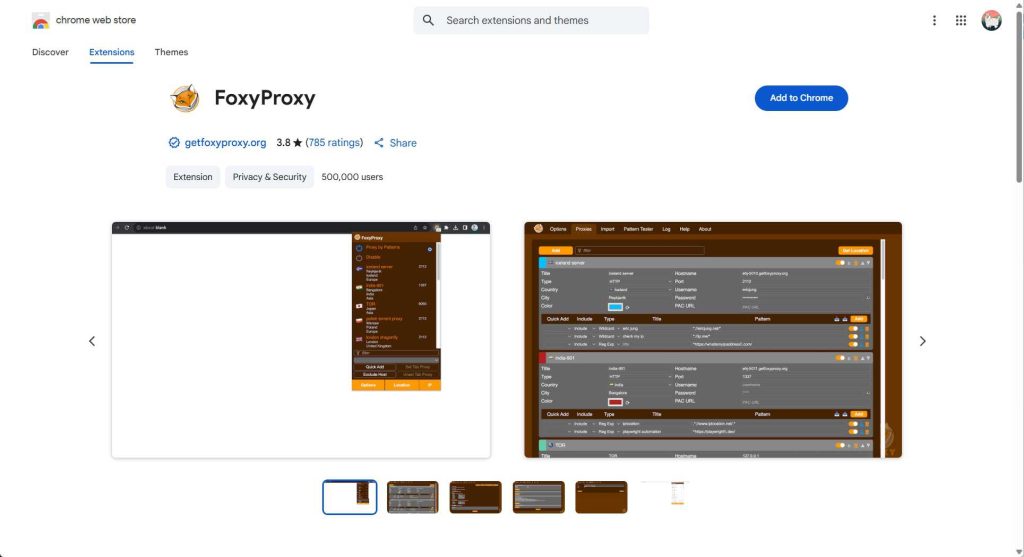
1. Install the Extension #
Ensure your browser has the FoxyProxy extension installed. You can install it via the Firefox Add-ons store or Chrome Web Store.
Chrome Web Store:
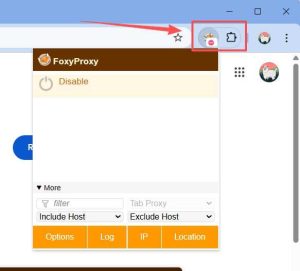
2. Set Up FoxyProxy #
After installation, click the FoxyProxy icon in the upper right corner of your browser extensions and select “Options” to enter the settings interface.
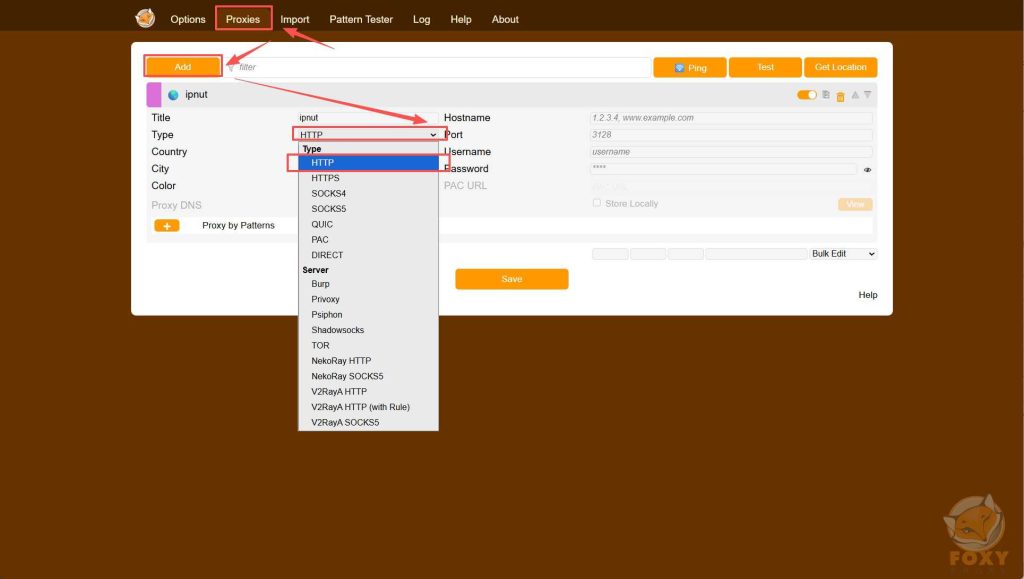
3. Configure Proxy Server #
In the Proxies section:
- Select “HTTP” as the proxy type
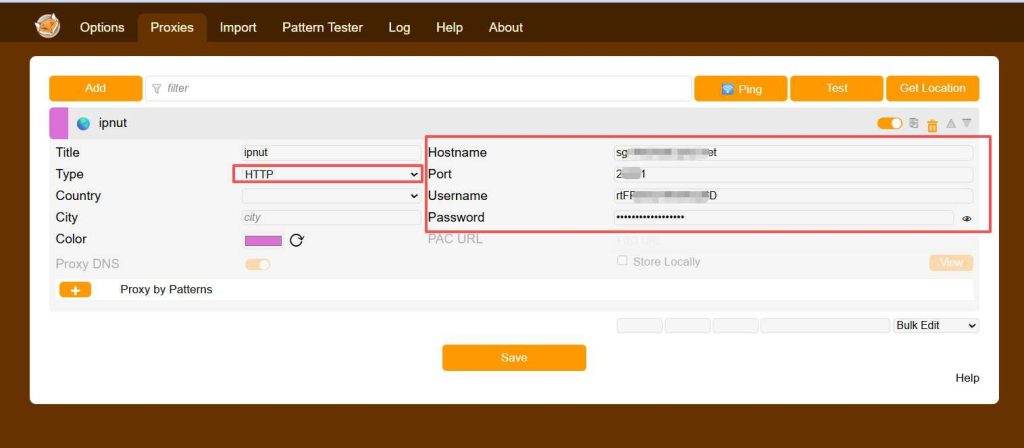
- Enter the proxy server address, port number, username, and password
- Click “Save” at the bottom after filling in the details
After configuration, click “Save” to save your settings.
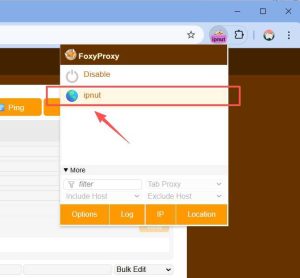
4. Switch Proxy #
Once the proxy server is set up, you can switch between different proxy modes by clicking the FoxyProxy icon. Select the profile you just configured to start using it.
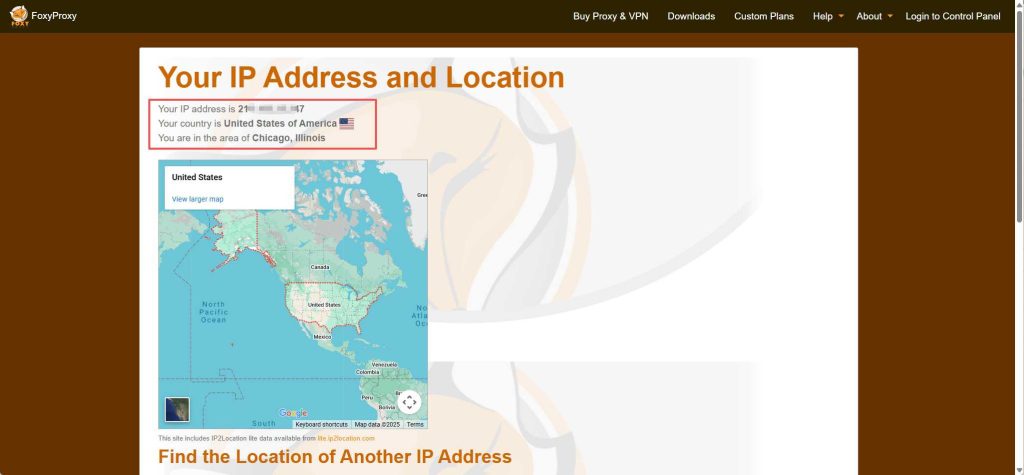
Need Assistance?
If you require further clarification or help with location positioning, feel free to contact us via:
Email: Jenny@ipnut.com
Live Chat: 24/7 real-time support available on our website


